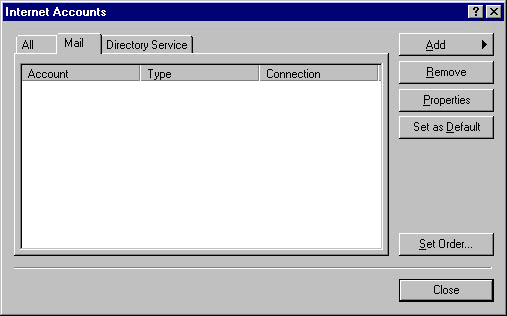
1. Click on the Tools
menu and select Accounts .
2. Click on the Add
button and select Mail . This will bring up the Internet
Connection Wizard window.
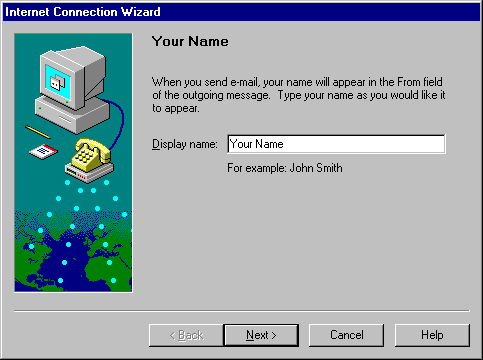
3. For the Display
name , enter your full name and click on the Next
button.
NOTE:
You can use whatever name you want here with both upper
and lower case letters.
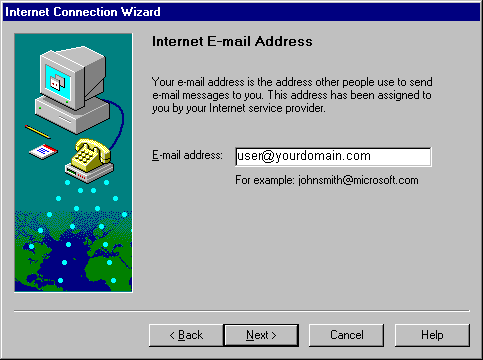
4. For the Email address
, enter: username@yourdomain.com .
NOTE:
Substitute your user name appropriately.
5. Click on the Next
button to continue.
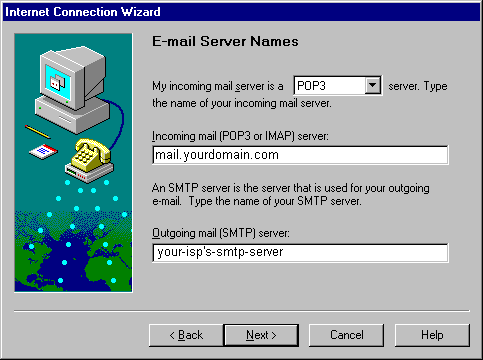
6. For the option My
incoming mail server is a , choose: POP3
7. For the Incoming
mail (POP3 or IMAP) server field, enter: mail.yourdomain.com
8. For the Outgoing
mail (SMTP) server field, enter your ISP's smtp-server
9. Click on the Next
button to continue.
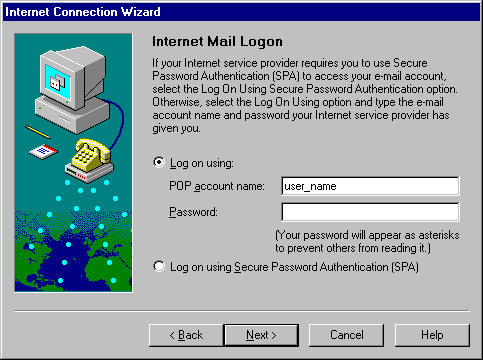
10. For the POP account
name field, enter your user name.
11. For the Password
field, enter your password only if you want the program to save
it. This allows you to check your e-mail without the need of
typing in your password at the beginning of every session.
12. Click on the Next
button to continue.
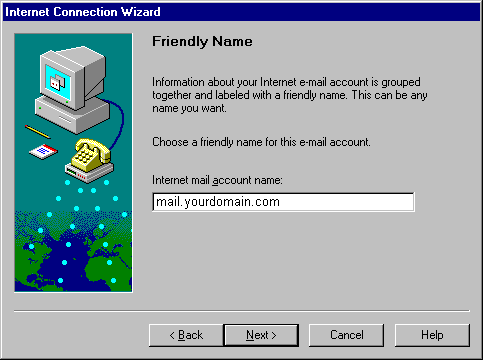
13. The next screen asks
for Internet mail account name . You can leave this option
at it's default: mail.yourdomain.com .
14. Click on the Next
button to continue.
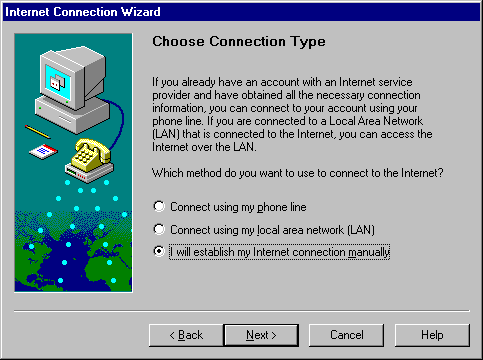
15. In this screen, choose
the option I will establish my Internet connection manually
.
16. Click on the Next
button to continue.
Click on the Finish button
and you're done!
Checking Your Email
1. Click on the Tools
menu and select Send and Receive .
NOTE:
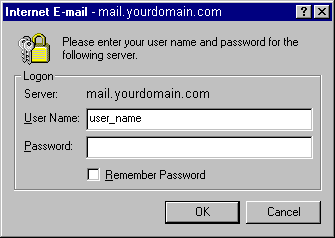
If you did not enter your password during the setup process,
a window will appear prompting you for it. Enter your password
and click on the OK button.
When you receive a new Email
message, it will show up in your In box with a brief
excerpt of the message.
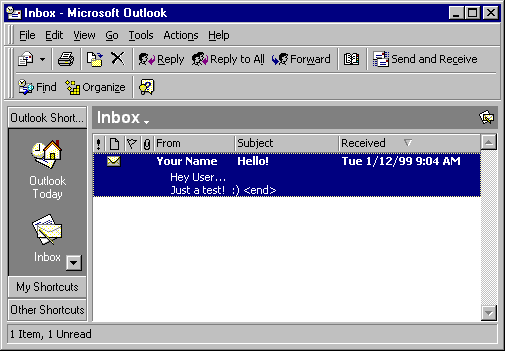
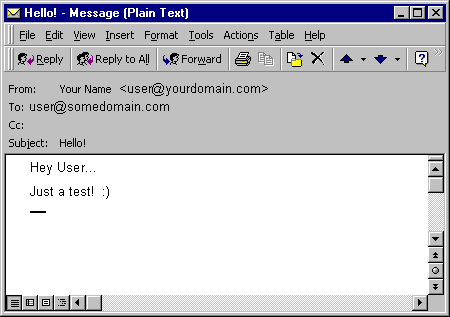
To read the Email simply double-click
on the message and it will be displayed in a new window.
Sending Email
1. Click on the Actions
menu and select New Mail Message .
2. Fill in the To
field with the recipient's e-mail address.
3. Fill in the Subject
field with the topic of the e-mail message.
4. Fill in the Body
of the e-mail with your message.
5. Click on the Send
button to deliver the e-mail.
 Email Set-Up, main page